How to calibrate your odometer for a rally
How to calibrate your odometer for a rally: drive the calibration route, work out the correction factor and avoid costly errors. With a worked example.
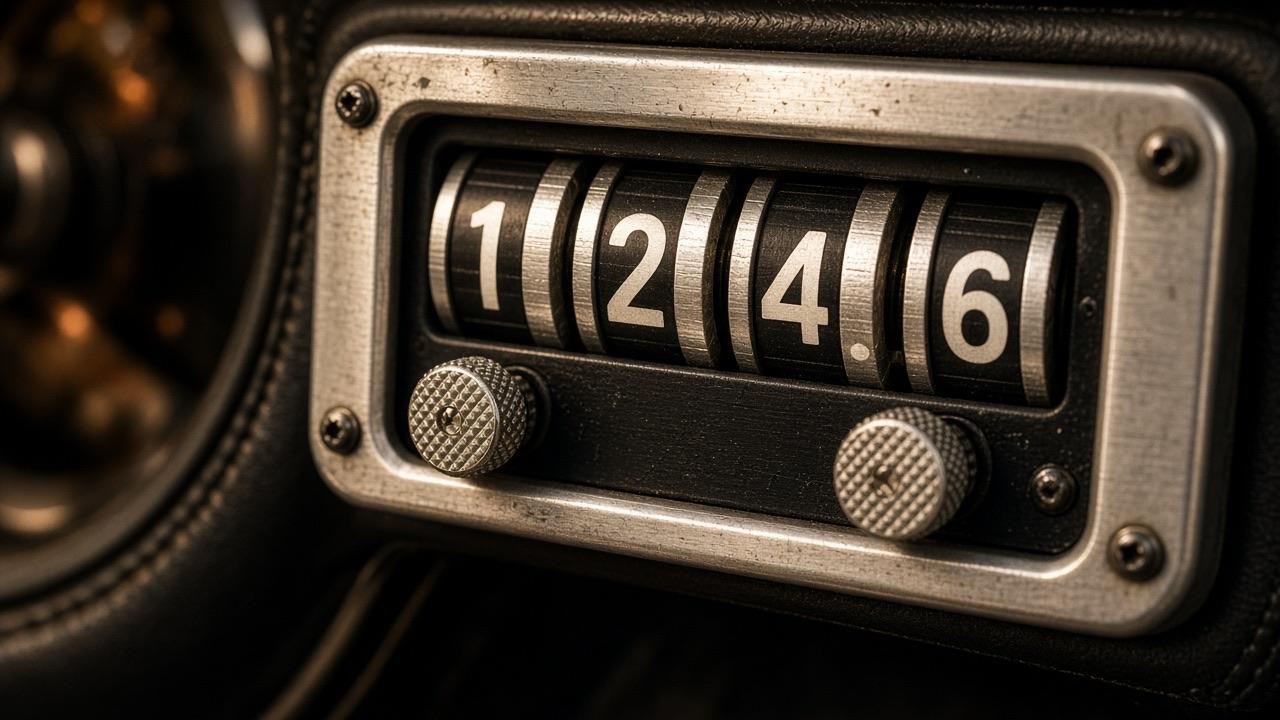
To calibrate your odometer, drive the organiser's calibration route, compare your reading with the official distance and work out a correction factor. Skip this step and none of the roadbook distances will quite match your instrument. On a regularity section, that mismatch turns straight into penalty points.
Why calibration matters
On a regularity rally you drive by distance and time. The distances in the roadbook were measured by the organiser in their own car. Your odometer counts differently: different tyres, different pressures, a different line through the bends. A difference of a few percent is completely normal.
That sounds small. It is not. If you hold your average against an instrument that reads high, you will be slow for the entire test. The worked example below shows how much that costs.
What is a calibration route?
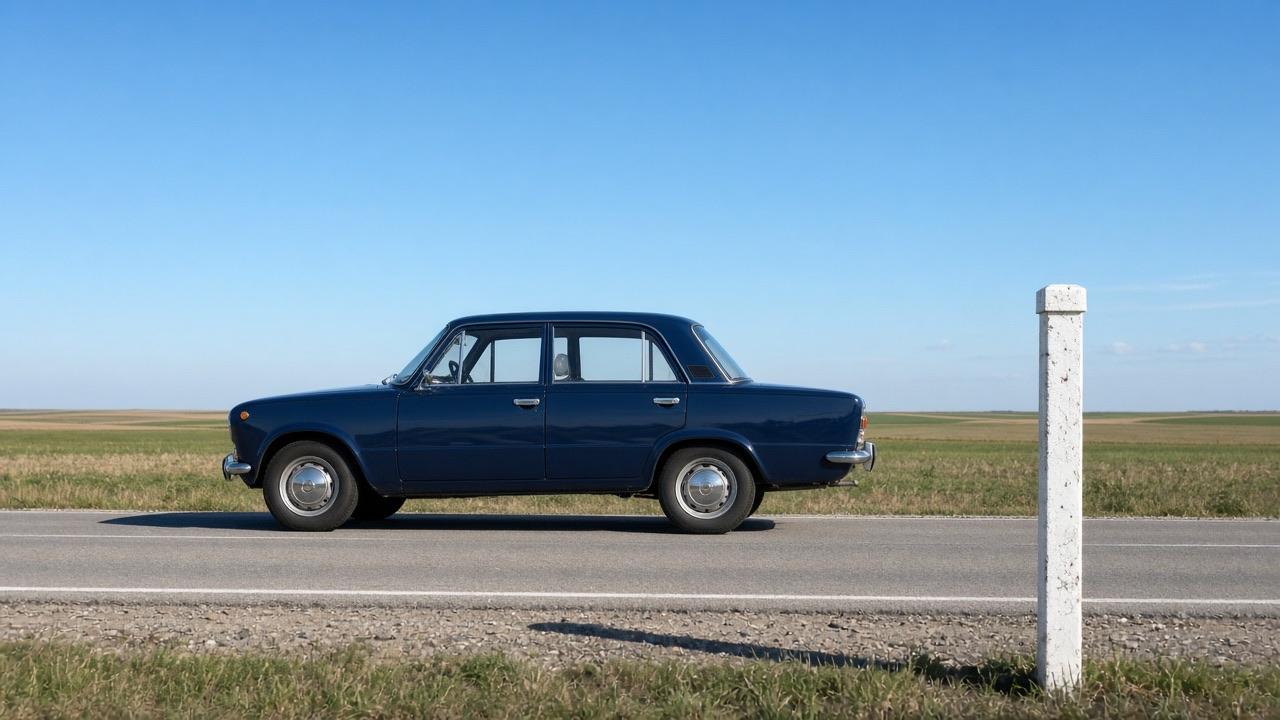
The calibration route is a stretch of road that the organiser has measured, with a clearly described start and end point. You will find it in the regulations or at the front of the roadbook. It is usually a few kilometres long and sometimes has intermediate points. Depending on the event, you drive it the day before, during scrutineering or shortly before the start.
Think of it as your reference measurement. It tells you how your car counts compared with the organiser's measuring car.
How to drive the calibration route
- Set your tyre pressures. Use the pressures you will run in the rally, ideally with warm tyres.
- Zero precisely. Reset the trip at exactly the start marker. A few metres off and the result is off too.
- Drive normally. Take the line you would take in a test. No cutting corners, no weaving.
- Read carefully. Stop at the end marker and write the reading down.
- Measure twice. If time allows, drive it a second time and use the average.
- Use intermediate points. If they do not agree with the final reading, you misread something or took a wrong turn.
Working out the correction factor
The formula is simple:
Correction factor = official distance ÷ displayed distance
Worked example
The organiser says the calibration route is 10.00 km. At the end, your tripmaster shows 10.25 km.
- Correction factor = 10.00 ÷ 10.25 = 0.9756 (rounded)
- Your instrument reads 0.25 km high over 10 km. That is 2.5 percent.
- Check: 10.25 × 0.9756 = 9.9999 km, which is effectively 10.00 km.
What happens if you do not correct? When your display shows 5.000 km, you have really covered only 5.000 × 0.9756 = 4.878 km. You are about 122 metres short. At an average speed of 48 km/h you cover 13.33 metres per second. 122 ÷ 13.33 gives just over 9 seconds late. If a secret check sits at that spot, it gets expensive.
Factor or pulses? Mind the direction
How you enter the value depends on your instrument. Some use a multiplier, others use pulses per kilometre. The maths runs the opposite way.
| Instrument setting | Display reads high | Example |
|---|---|---|
| Factor (multiplier) | Value goes down | 1.0000 × 0.9756 = 0.9756 |
| Pulses per km | Value goes up | 2,000 × (10.25 ÷ 10.00) = 2,050 |
Quick check for the pulses: at 2,000 pulses per km and a 10.25 km reading, the sensor counted 20,500 pulses. 20,500 ÷ 2,050 gives exactly 10.00 km. Your manual tells you which method your unit uses.
No tripmaster? Convert the roadbook
You cannot adjust a standard trip meter. Instead, convert the roadbook distances to your own scale:
Distance on your odometer = roadbook distance × (displayed ÷ official)
In the example, the roadbook says 3.40 km. Your odometer will show 3.40 × 1.025 = 3.485 km at that point. Keep calculating your target times with the official distances. Only your reading points move. Bear in mind that many older odometers only show 100 metre steps, which is tight for precise tests.
What throws your calibration off
- Tyre pressure and tyre temperature
- New or worn tyres
- Load: two people plus luggage
- Wheel slip on gravel, wet roads or snow
- Your line through bends and hairpins
If the weather changes a lot or you swap tyres, a second calibration is worth it. Depending on the regulations, multi-day rallies may offer a second calibration route.
What if you measure by GPS?
GPS needs no wheel sensor and no correction factor. The calibration route is still useful. It shows how well your GPS distance matches the organiser's measurement. If it is consistently off, you know by how much and can plan for it. When a wheel sensor is the better choice is covered in Rally app or tripmaster?.
Your routine before the start
- Find the calibration route in the regulations and mark the start and end points.
- Check tyre pressures and zero the trip at the start marker.
- Drive it, note the reading, twice if you can.
- Work out the correction factor and do the check.
- Enter the factor in your instrument or convert the roadbook distances.
- Prepare your target times with the average speed calculator.
For turning distance and average into time, read How to calculate average speed. Looking for an event to practise on? Browse the rally calendar. If you run Rally Co-Pilot on GPS, use the calibration route to compare GPS distance with the roadbook.
Terms in this guide
Read next
How to Calculate Average Speed for Regularity Rallies
Calculate average speed for regularity rallies: formulas for time, distance and speed, km/h to m/s conversion and worked examples with solutions.
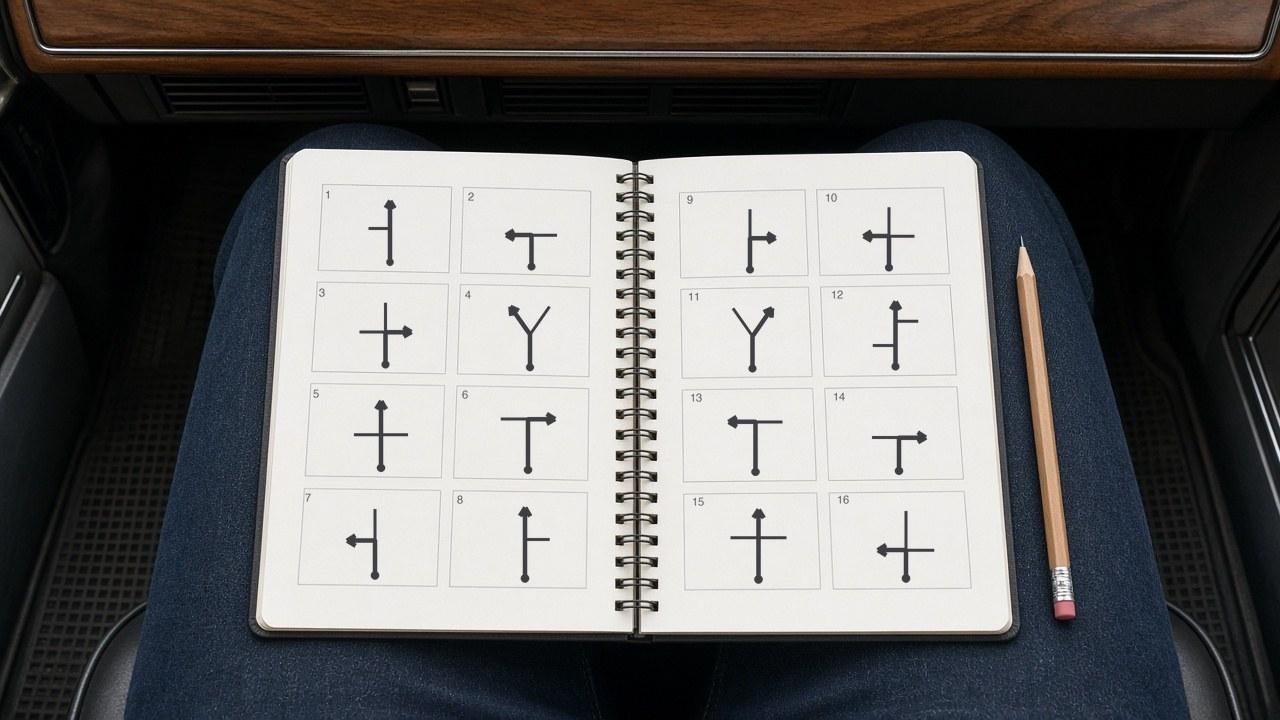
Reading a Rally Roadbook: Tulips, Chinese Signs, Herringbones
Learn to read a rally roadbook: how tulip diagrams, Chinese signs and herringbones work at classic car rallies, with examples and common pitfalls.
Rally app or tripmaster? What you actually need
Rally app or tripmaster? An honest comparison for classic rallies: accuracy, installation, GPS reception, regulations and when each one makes sense.